8. To enter Surface Covering Mode click on ![]() button.
button.
After switching to Surface Covering Mode you'll see a base surface on which you can create other surfaces and cove them with tile or other materials. Base surface shape is defined by wall contour and hollows in the wall. Moreover, base surface shape is affected by other surfaces that are parallel to base surface and are located close to it (+/-2..3 cm). In that case cutouts from such surfaces are automatically included in base surface. It helps to avoid unnecessary consumption of tile under blocks. This case is demonstrated on the image below (a block was moved up after a surface was created):

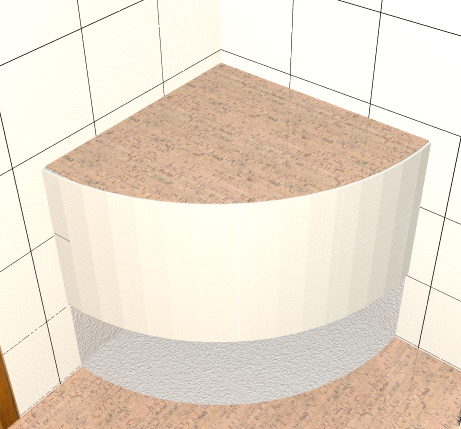
This principle applies to all wall and floor surfaces, surfaces of niches and blocks. Exceptions are curved surfaces, they are not considered parallel to each other, even if some of their parts are parallel.
8.2. Creating Surface based on custom Contour
8.3. Defining Grid Origin Corner
8.5. Changing Grid Origin Point
8.10. Replacing tiles of one type to another
8.12. Undo/Redo Mode for Surface
8.13. Surface Coverage with Layouts based on Templates
8.14. Rotate the tiles on the permissible angles
8.15. Shift of all the tiles on the surface
8.17. To delete all templates tiles from the Surface click on ![]() button.
button.
8.18. To delete all tiles from the Surface click on![]() button. If there are two different Surfaces on a wall, the program will ask you to choose from what Surface to delete tiles: 'Surface 1', 'Surface 2' or 'All'. The first surface is the one that was created first (see Creating Surface based on custom Contour).
button. If there are two different Surfaces on a wall, the program will ask you to choose from what Surface to delete tiles: 'Surface 1', 'Surface 2' or 'All'. The first surface is the one that was created first (see Creating Surface based on custom Contour).