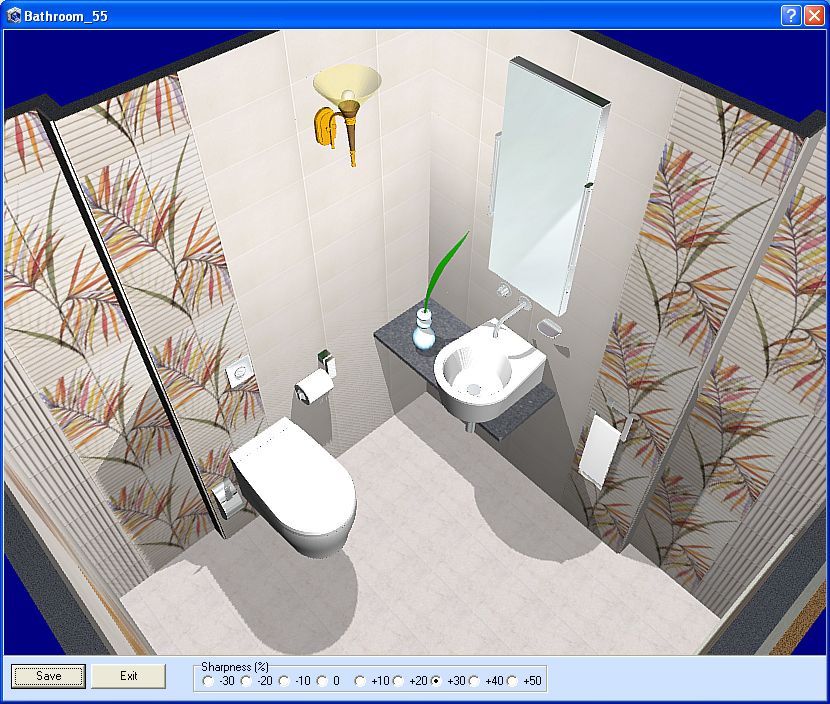
25. Using visualization mode you can create high-quality true to life images of your project. To activate visualization mode go to 'Mode -> 'Visualization'. Visualization mode works with the current image of your project. Visualization mode has the following settings:

'Light from windows' – shadows in the project will be created based on light coming through windows (created by default). You can use not more than three windows as a light source (restricted automatically).
'Installed light sources' – shadows in the project will be created based on light form artificial light sources (lamps, spotlights, etc.) installed in your project (see Placing light sources). You can use up to 6 light sources, including windows (if used).
'Shadow depth' – is used to adjust the opacity of areas covered by shadow.
'Smooth shadow' – is used to smooth out shadow edges.
'Hide grout' – is used to smooth out rough grout joints grid.
'Shadow direction' – is used to adjust the ‘incidence angle’ of shadows. If the slider is in the upper position, shadows fall almost parallel to the light source, if the slider is in the lower position, shadows falls almost vertically. By default shadows from the light source is directed to the center of the room, and shadows produced by window light fall inside the room perpendicular to the window.
Click on 'Display image' to create and display an image:
Click on 'Save' to save image in bmp format.
'Sharpness' option allows you adjust image sharpness.