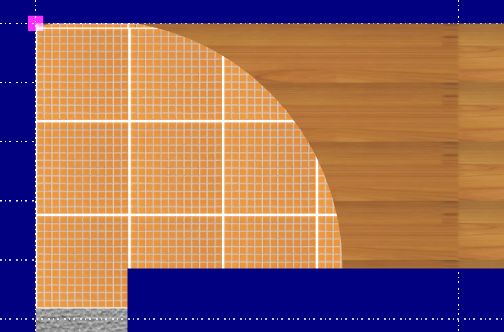
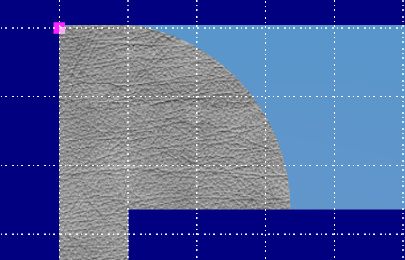
8.2. Surface Contour is created in the same way as Room Contour, but available area is limited by wall size. Surface Contour editing is similar to Room Contour editing. If you have set the point in the wrong place, you can delete it by pressing Ctrl+Q.
The automatic sizing of the contour is performed. Click the ![]() button to close of the contour (you can also close of the contour by left-clicking on its starting point or press Ctrl+E).
button to close of the contour (you can also close of the contour by left-clicking on its starting point or press Ctrl+E).
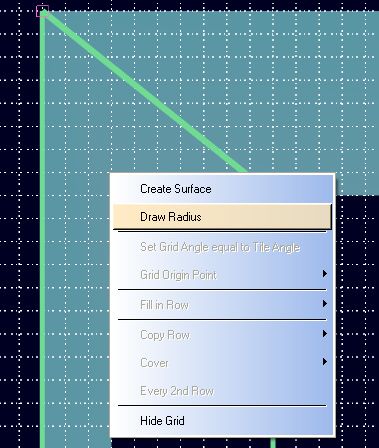
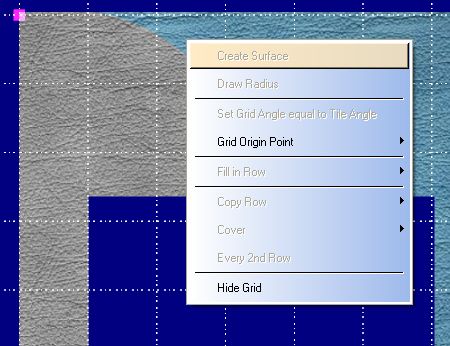
Click the ![]() button to delete the contour. Moreover, you can edit length of contour’s segments after you have created the contour. Click on the first point of the segment and then on the second point. Change segment’s length value and click OK. Moreover you can create curved segments. In order to do that after creating a contour you should right-click and select “Draw radius”.
button to delete the contour. Moreover, you can edit length of contour’s segments after you have created the contour. Click on the first point of the segment and then on the second point. Change segment’s length value and click OK. Moreover you can create curved segments. In order to do that after creating a contour you should right-click and select “Draw radius”.
Then pick a center of estimated circle and click the left mouse button. After that you should specify a desired circle radius by moving the mouse and then left-click again.
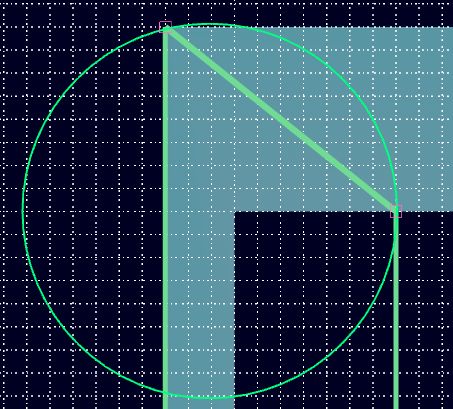
Then the program will ask you to select a method of including radius in the Contour: to integrate radius segment with the contour or to cut segment from the contour.
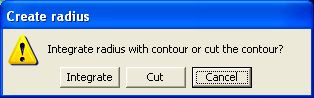
Select necessary mode. Then you can continue to edit contour or create surface by the instrumentality of button ![]() or select 'Create surface' out of pop-up menu (right-click).
or select 'Create surface' out of pop-up menu (right-click).
If you want to create the second surface on remainder wall – just click right-click on clear area and select 'Create a surface' out of pop-up menu. The second one will be generated (its color will differ).
Surfaces are covered discretely and can be covering with different matter. For example, laminated plastic and tile respectively. Automatic mode of filling out works only for current surface.