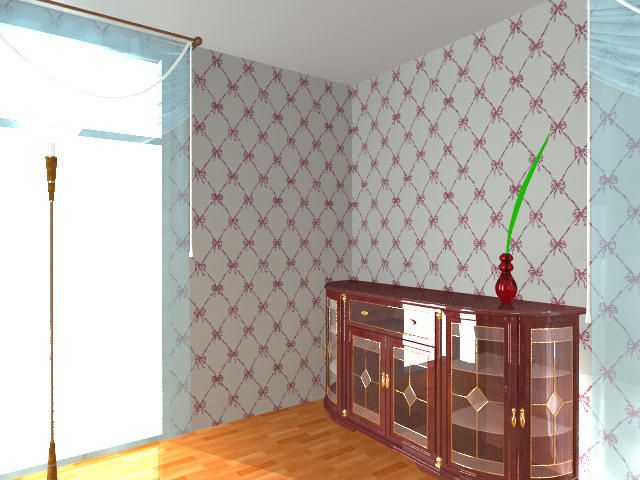
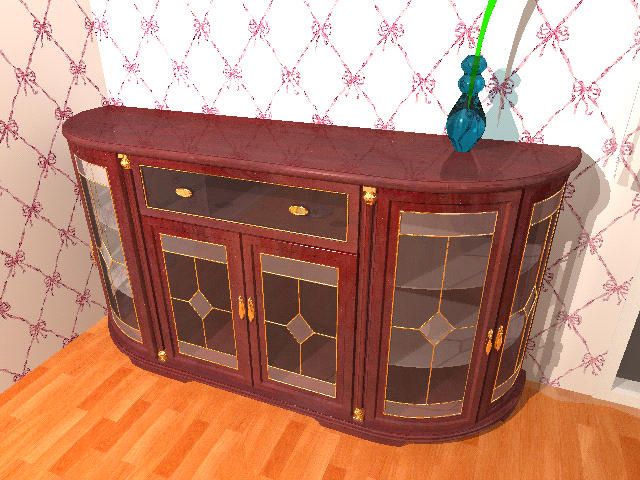
27.9. Let’ adjust the project Example.bin, which is included in the program. Below you can see the appearance of the project.
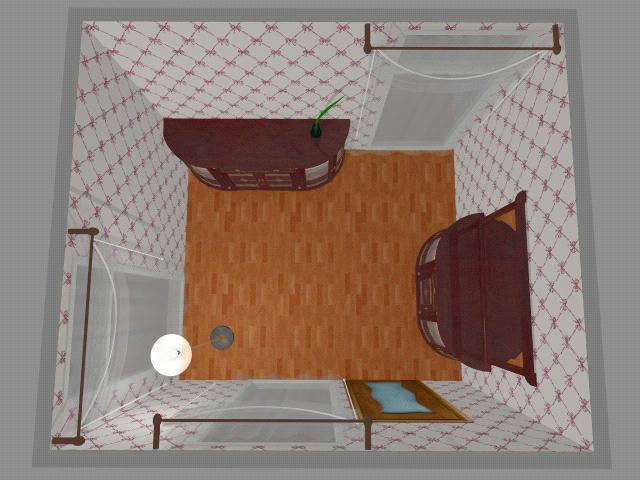
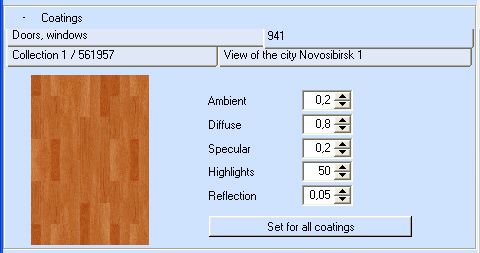
Light source – a lamp, all settings by default: brightness 1.0, effective radius – 200 cm. At first, we have adjusted wallpapers, parquet tiles, cupboards and the vase. We have switched on radiosity and set 0 anti-aliasing (in order to increase rendering speed). Parquet tile settings: specular - 0.2, highlights – 50, reflection – 0.05. Wallpaper settings – by default.
In the project we have used non-covered ceiling, its color is white (by default). Light properties of the ceiling could be set using ‘Doors, windows’ option on the Coating Panel. We have set them by default.
Cupboard (La_Goiconda_008.3ds) settings: wood texture – polishing 3, ‘Ambient’ – 0.3 (in order to make the texture look lighter), fittings – gold 1 polishing 3, for a glass – polishing 3.

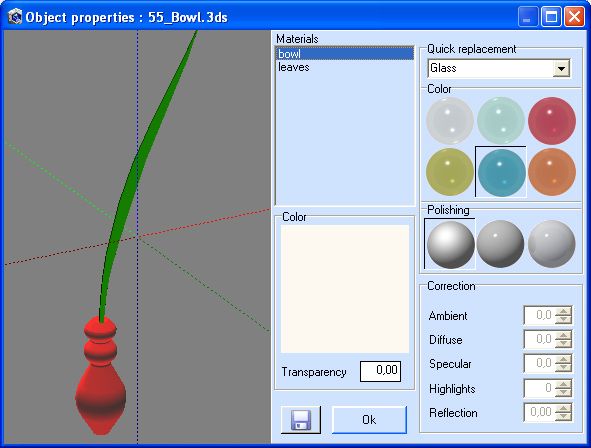
Vase (55_Bowl.3ds) settings: vase material – quick replacement to glass, polishing 0 (no polishing button is pressed), leaf material – color replacement (we have made it more green) and polishing 1.
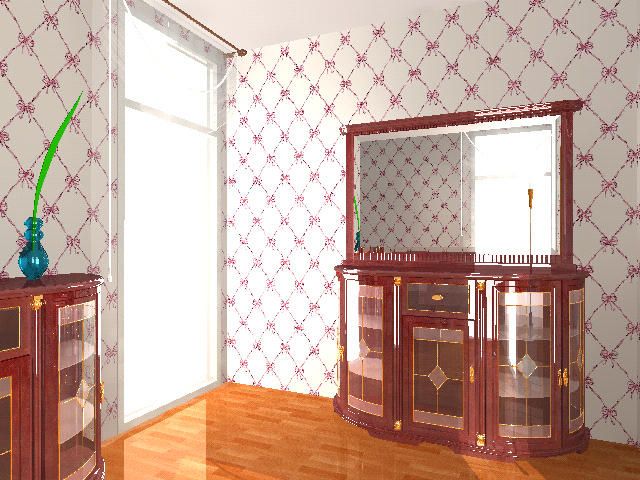
Let’s direct a camera at the object, export project to render and start rendering. You can see the result of rendering below:
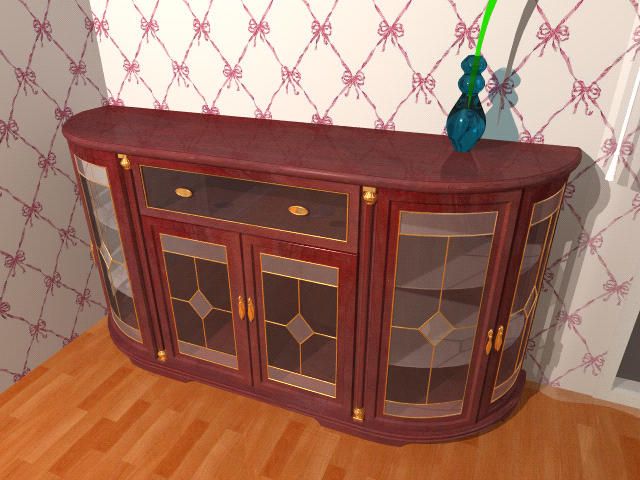
In order correct wallpaper flare, we have reduced wallpaper ‘Diffuse’ to 0.6. Moreover, in the same way we have changed ‘Ambeint’ of parquet tiles, doors and windows. We could also reduce light source brightness, but then the cupboard will look dim. We have set anti-aliasing = 12. The result is given below:
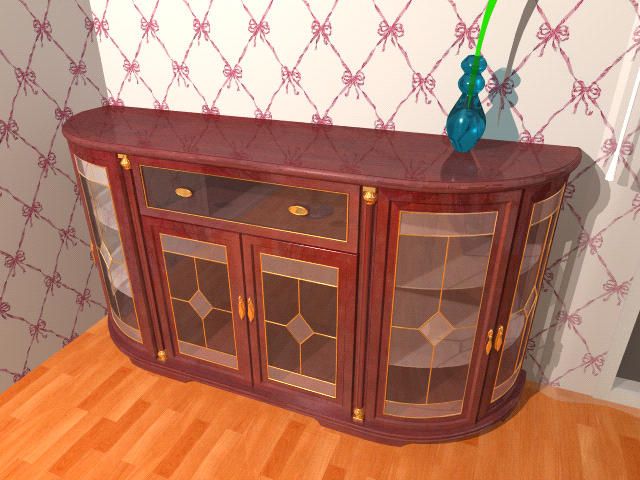
Parquet tiles are to dark, therefore we have returned its ‘Diffuse’ to 0.8, we have also increased reflection of the cupboard (wood texture and glass) to 0.15. Vase material polishing is set to 1.
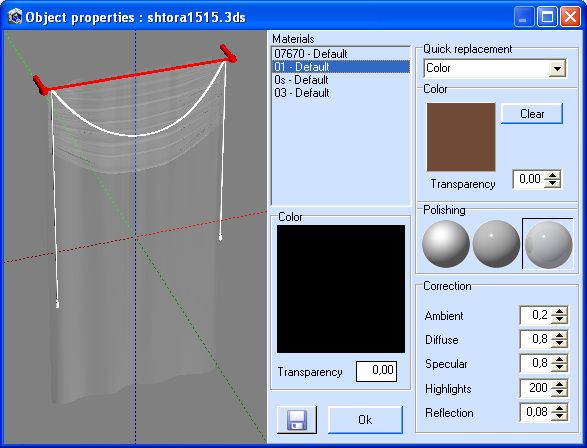
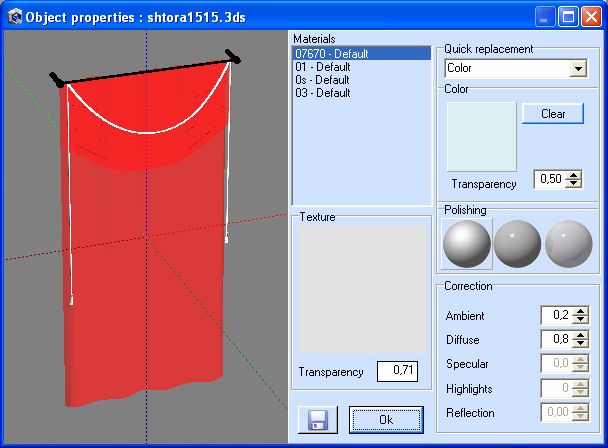
Curtain parameters: fabriс – without adjustment; curtain rail – color replacement, polishing 3; cord – polishing 3.
Lamp parameters: lampshade – polishing 2, base – chrome 1 polishing 2, wooden parts – polishing 1, metal parts – chrome 1 polishing 2, lamp pole - polishing 2.

On the ‘Light, Sun’ Panel we have changed height of the light source position, in order to move the light source to the bulb we have increased the height (+Z) to 95 cm.
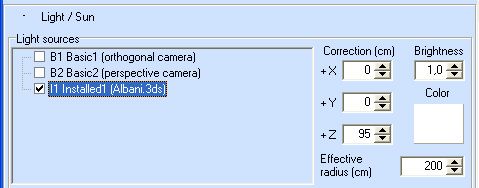
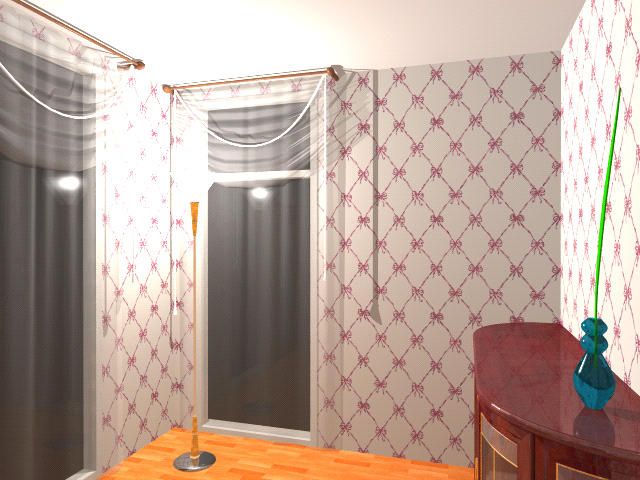
The result is given below:
We have adjusted the second cupboard in the same was as the first, mirror material – quick replacement to ‘mirror’. Also we have increased anti-aliasing to 16.
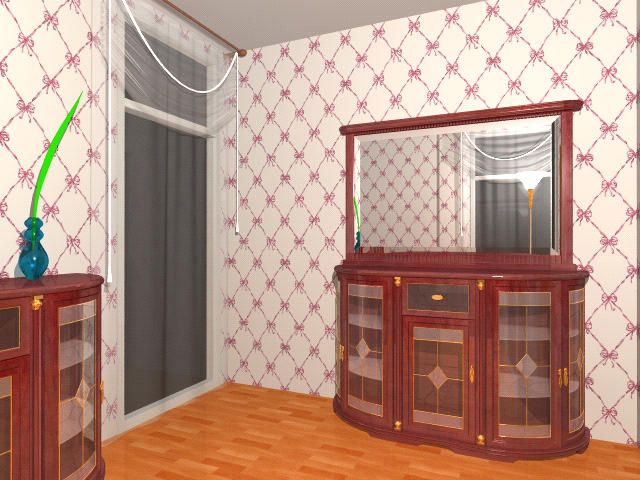
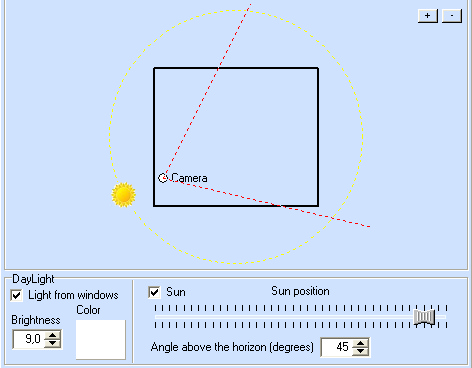
Then we have turned off the light source and turned on the daylight and the sun. Daylight brightness – 9.0. You can see all daylight settings on the image below.
We have turned off anti-aliasing, exported the project to render format and launched rendering:
After that, we have created a view outside the window. Using Block Editor we have created a block (the size of the block - 500х400 cm) and installed it outside the window. Then we have chosen a picture for the outside view, made a tile form it (the size of this tile - 500х400 cm) and covered the block with this tile.
The position of the block depends on the position of the camera. It is better to install the block perpendicular to the camera
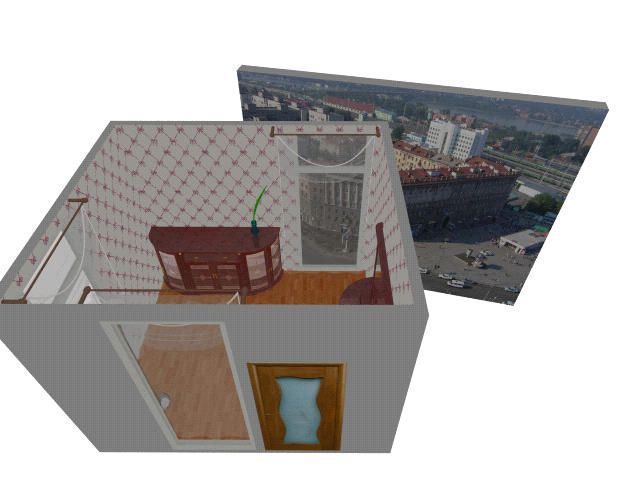
Note, that by default, block material settings are the same as all other coating settings. This should be corrected, in order to avoid the daylight “spoiling” the image. We have set 0 material ‘Ambient’ parameter to 0 and ‘Diffuse’ to 0.4, curtain fabric ‘Diffuse’ is reduced to 0.6. Anti-aliasing is set to 12. Here you can see the result:
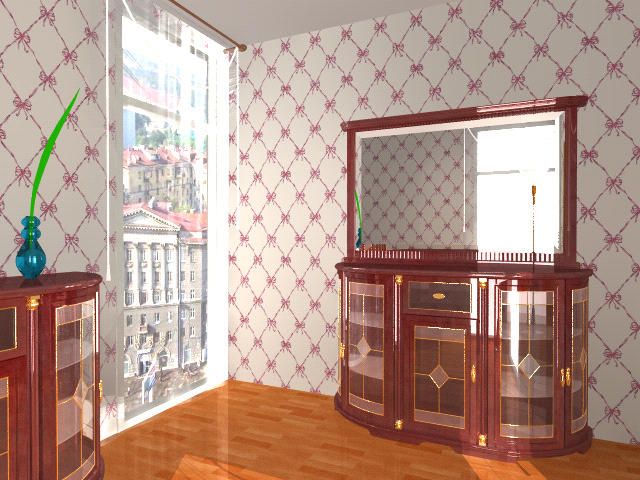
Let’s change object material settings. Curtain fabric settings – we have replaced curtain fabric color, reduced transparency to 0.5, replaced vase material to red glass.
In order to compensate the reduction of transparency we have increased daylight to 15. Below you can see the result: